
Sometimes, I can be pretty crafty. I'm no great crafter or anything, but sometimes, I'll crank out something that even amazes myself. Today was one of those days! I was humming a great song, "Wonderful Wonderful" by Johnny Mathis (included here) and texting a buddy who has a wicked sense of humor all while being quite deft with the stitch witch!
Anyway, hopefully I haven't left out any steps. It really is wicked easy to make and you can use the same steps to make a table cloth as well. My only suggestion is wash on the gentle cycle and line dry this little DIY - NSTR!
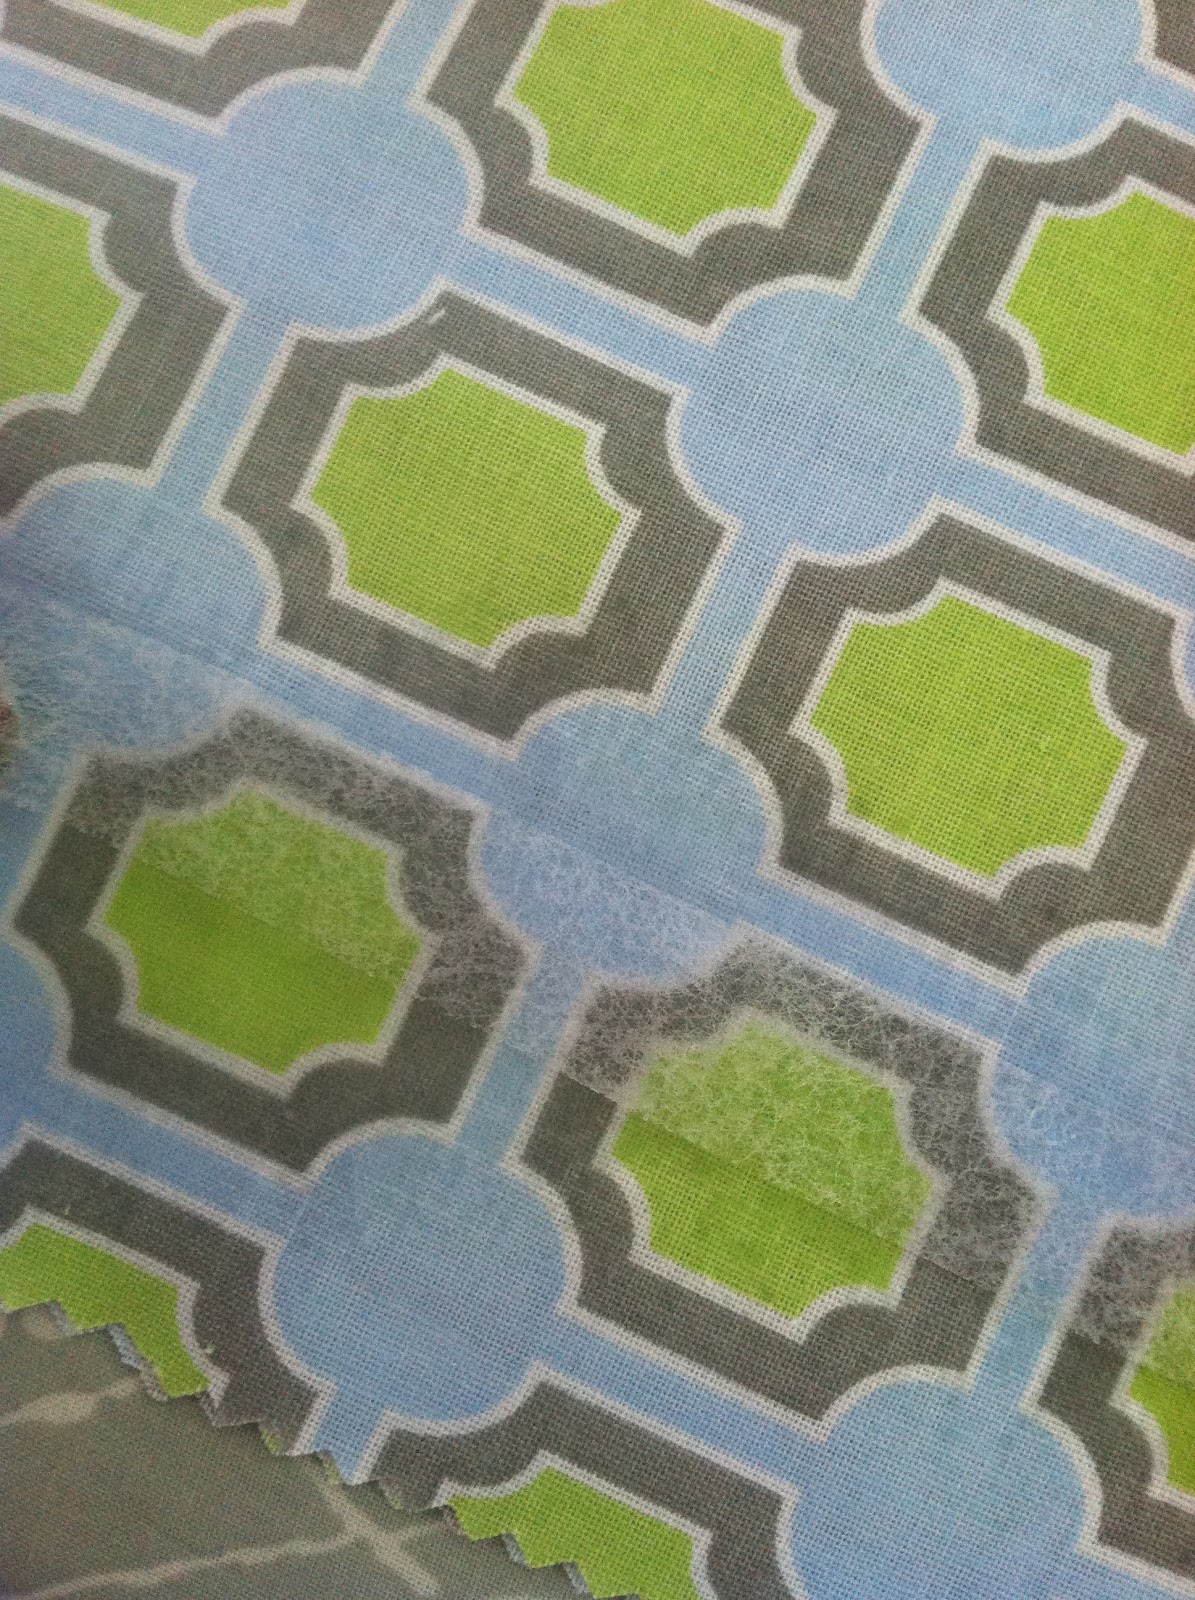
For your table runner you'll need:
2 yards of fabric
4.5 yards of ric rac or trim
3/8 in. width heat bond
1/4 in. width heat bond
fabric scissors
hot iron
Step 1: Choose your fabric and gather your materials.

Step 2: Cut your desired width. I like a pretty standard runner width. Your preference may be a bit wider or thinner depending. Be sure that you are cautious; try to cut as straight as possible.


Step 3: Make sure the iron is hot. Iron all folds and creases from your pattern before you begin; that will ensure a neater more polished look.

Step 4: Fold and iron your hems at about a 1/4 inch thick or so all the way around your runner.

Step 5: After your hems have been heat set with the iron, place your heat bond under the crease. Moisten the fabric with the sandwiched stitch witch and iron until the water has evaporated and the hem is stuck. If you aren't sure if the heat bond worked...try gently tugging at it. If it does not resist, re-iron. If it doesn't budge - success!

Follow step 5 around all four sides.

Step 6: Mitre the corners. (This is my least favorite part - mostly because I stink at it.) Make a small triangle at the corner as shown in the picture. Place a small amount of the skinnier heat bond under the corner and press it with the iron for several seconds.


Step 7: After you mitre the corners, fold the fabric into a new hem and add the heat bond under the folded new hem as shown in the photo.

Your finished mitered corner should look similar to the one below.

Step 8: After you've hemmed your corners with the heat bond, flip your nearly complete runner over. Place your trim on the runner where you think it looks even.

Make sure you have some over hang...

Step 9: Put your heat bond on the runner where you have placed the trim (move the trim out of the way first. It usually works better that way). Then replace the trim on top of the heat bond. Moisten with a spray bottle and press with hot iron. Do this on both sides.

Step 10: After you've affixed your trim with the heat bond, turn over the runner and adhere the excess trim to the underside to create a finished look.


Your finished trim should look like the photo below. And...

VOILA!

You've just completed a table runner/tablecloth in 10 easy steps and never had to fuss with a sewing machine!

Wait! You thought you were done? Don't forget Johnny Mathis...This is the catchiest tune I have perhaps ever heard and I love it!
Dedicated to my very loving and really handsome husband. Woo hoo! I won the husband JACKPOT!
Post a Comment