My friend Rob or as you may know him, the brain behind Cockeyed, is a pretty crafty fella. I'll reserve the Beastie Boys song reference here, but only because it's about a she and Rob is in fact a "he."
At a recent visit to his house, I asked him about anything new he'd created. Somewhat dangerous territory, after all, Rob is up to cleverness with definitive frequency. After my innocent inquisition and not being prepared for what came next, he came out with an extraordinary homemade creation.
Without a pattern, and a relative novice on the sewing machine, he delineated the greatest laptop bag full of bells and whistles. He has a laptop with a 17 in. screen and as we are all generally aware of, it can be tricky to find a bag that suits a laptop of substance.
It has a front pocket for laptop accoutrements and the main pocket for the computer itself is lined with faux fur. It has a handy measured cross body nylon strap and the bag is made of eco-chic naugahyde complete with a velcro closure.
For more information, measurements and general directions, contact Rob at Cockeyed. This thing is so impressive that I think I might've shrieked with glee when he came out with it. Check it out.
I want to start a cosmetics company. I want to call it Moxie Make-Up and Cosmetics. I want to use TOMS one for one business model and give make-up and cosmetics to under served, at risk, low income, inner city ladies, beginning here in the U.S. then branching out to other countries and communities. Beauty should not be unattainable. Alas, where to begin? Where to get the capital? How?
I have a student named Renee. She recently went to the dermatologist for some skin irritations. He said she needed to stop wearing perfume or using lotion with scents and so on. As a teenager, she is pretty horrified at he thought of walking through life without the scents associated with being a girl. I was too when my doctor told me the same thing. So as a little present I made her Rockin' Renee. An Eau de Parfum made strictly of all natural products.
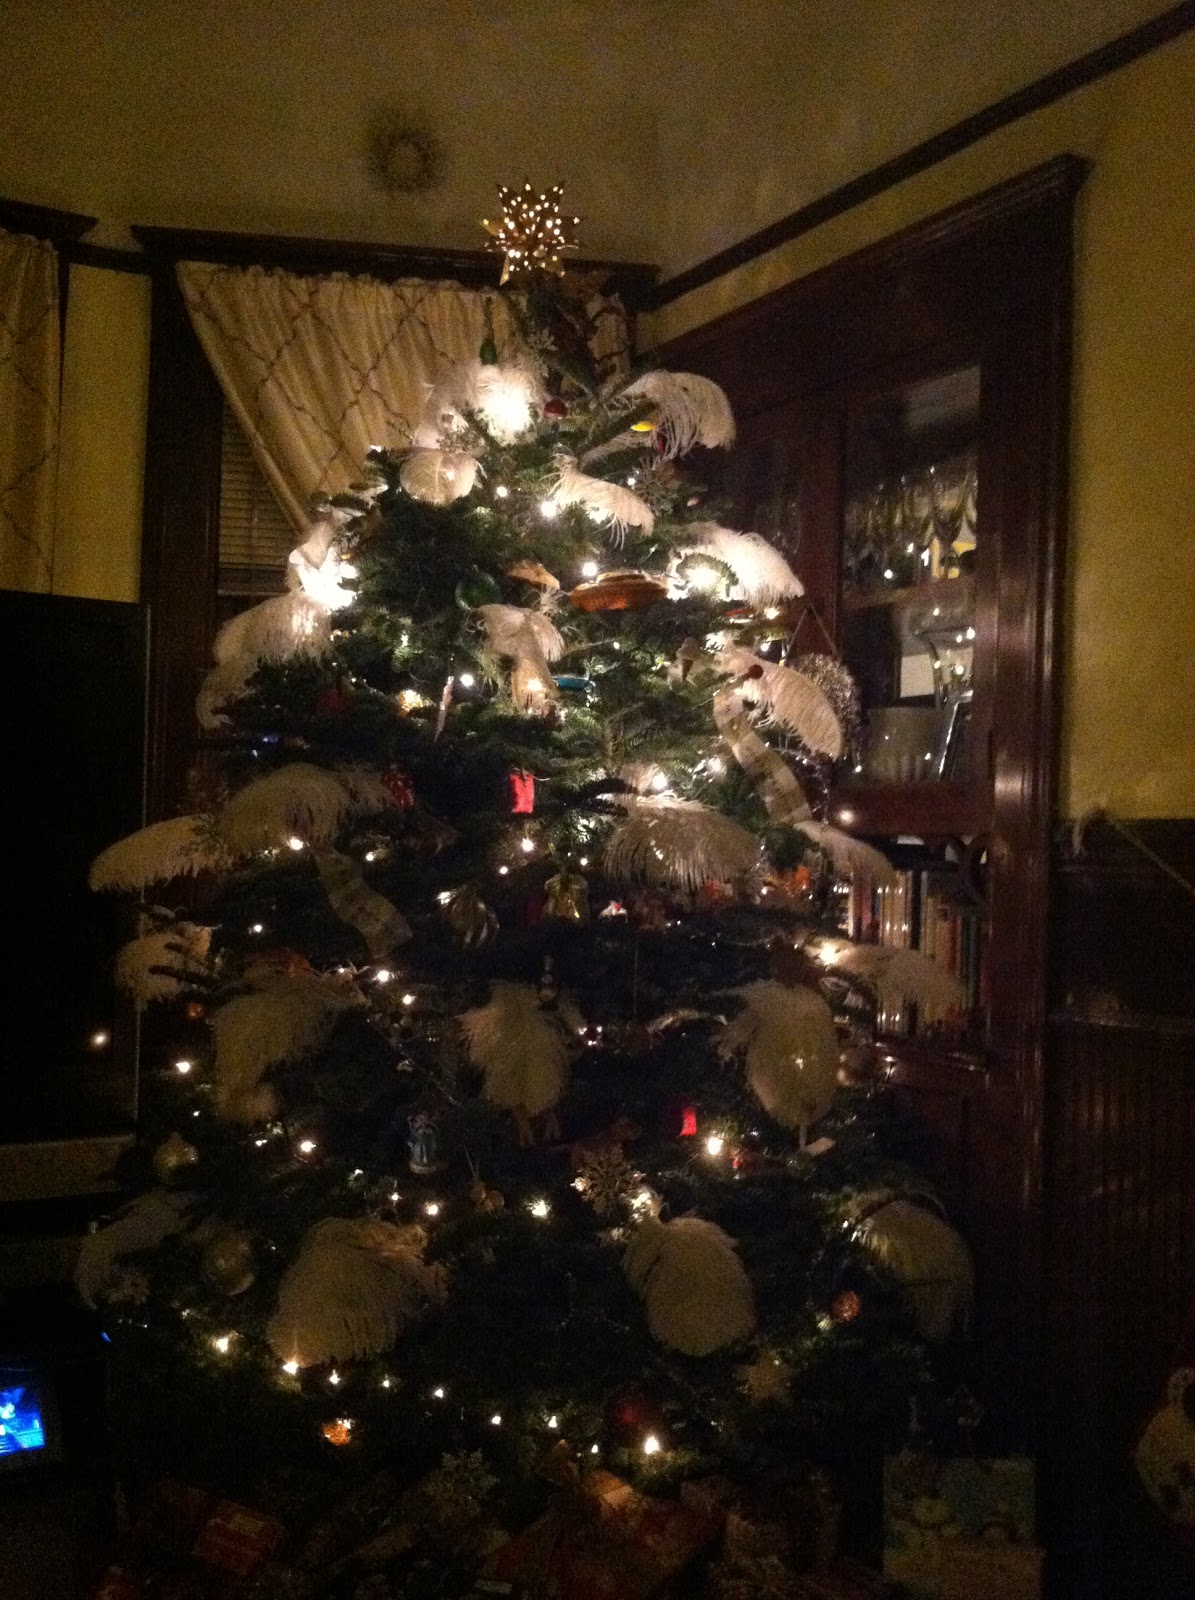
I found this super festive ribbon in green and white wide stripes that said "Lots of things merry and everything bright." It was too cute not to share so I made wee tree flags with the ribbon. I've included step by step photo instructions here. This DIY project is good for adults and kids for a couple reasons. First, it is very inexpensive and requires a walk outside. It's also a very fast project. Enjoy doing this and if you're inclined, share some photos of your own work with me!
The basics: Ribbon of your choice, very sharp scissors, tree twigs, hot glue and small ball ornaments.
Make sure the ribbon will go around the twig nicely so you know where to start your glue and how your flag will lay once you add it to your tree.
Here is the bowl of ornaments collected. The best to use for this project are small glass ornaments that have the metal top (you'll remove the metal top eventually)l
This was my favorite to use.
Then remove the silver hanging loop.
After you've hot glued the flag on the stick, put a generous amount of hot glue on the stick and put the stick in the hole where the silver loop used to be.
Voila!
Here are some that are finished and placed. Cute, no?
This is just a very simple but very useful project.
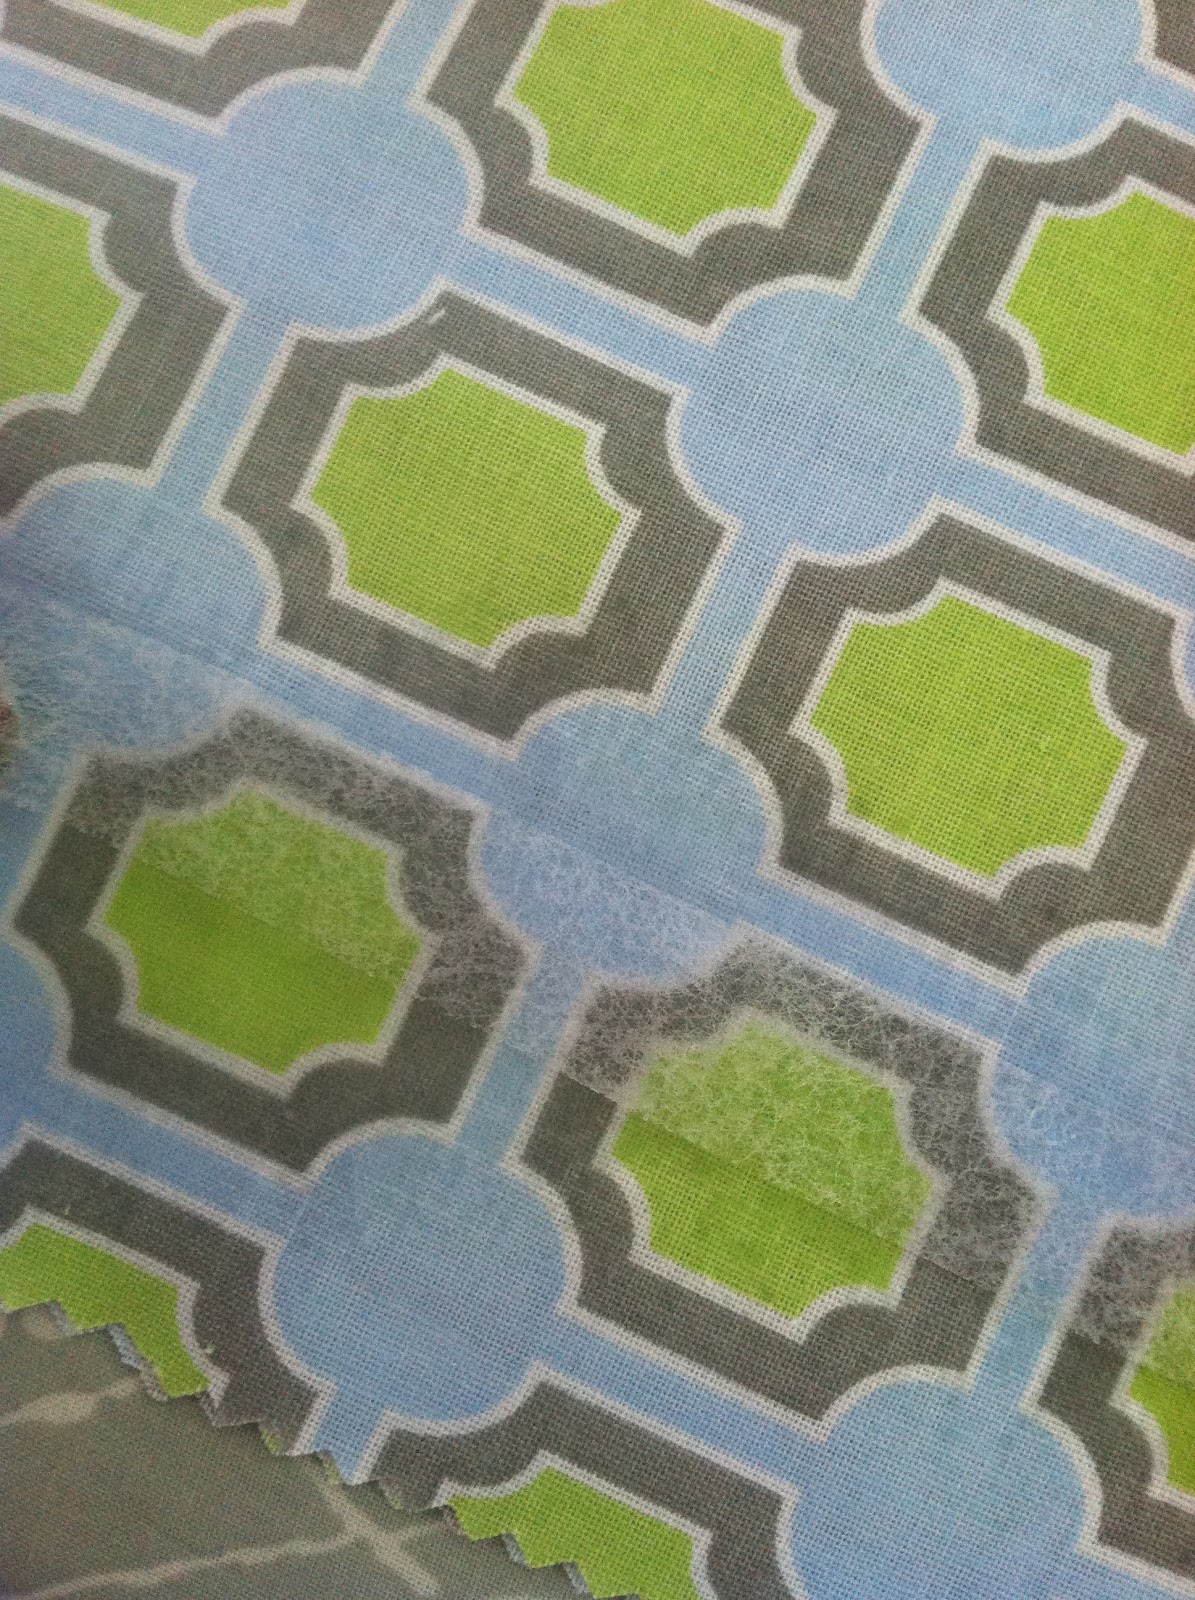
Get 2 yards of fabric you like. It should be pretty weighty, though, as you want it tough enough to put things in. It is after all a bag.
Fold the bag evenly right sides together and sew up either side. Do a double stitch on the machine and do a triple on the bottom for security, press it and make the strap.
I measure the strap long so it could be adjusted later. I folded it in threes as you would fold a business letter. The I stitched it twice in the middle and pressed it before adding it to the inside seams.
I added a pocket to the inside, but this step is optional. I also embellished it with vintage buttons. I call this bag "Apples and Oranges."
I love to go to my husbands tile showroom! I am always inspired by the stuff he has there. He and his partner do quite a bit of work in natural stone but his partner deals more frequently in pool tiles. I found some scraps last time I went and I put my crafting skills to work.
This morning I was motivated to make these little bracelets so I can give them as simple, inexpensive, chic gifts to ladies I care about.
Materials: Pinking shears, felt, glass, ceramic or shell tiles, a glue gun, some needle point thread, needle point or tapestry needles, sewing needles and thread and some hemp twine or fancy skinny ribbon and buttons.
With the pinking shears cut a straight line at the edge of a felt piece. Glue each glass tile to the felt with the glue gun. Cut off the strip of glued tiles on the other side using the pinking shears again.
Next, sew on the button. Be sure to measure your wrist. Sew the button on with a needle and thread as you would with a shirt button. Next cut a button hole on the other side. (Felt has poor integrity becasue it is not woven) You need to reinforce the button hole otherwise you'll lose the bracelet. Use the embroidery thread and blanket stitch around the small slit twice. After you tie it off glue a tiny piece of felt above and below the button hole after your reinforcement. You've just completed the bracelet and it's ready to wear.
An alternate way to create a closure for your bracelet is by looping fancy string (as pictured) through a button with button holes big enough to accommodate the string. Then glue the string to the felt on the underside of the bracelet. Secure with a piece of felt that you glue on. On the other side of the bracelet you'll need a loop with which to fasten the bracelet to your wrist. Make a loop with the fancy string and glue it the same way you did on the button side. Again secure with glued felt. Before you do this step, measure your wrist so that you have a bracelet that fits comfortably.
The finished product is pretty, unique and handmade.
I love table linens. I get that gene from my mom who has closets full of gorgeous stuff...cotton, silk, plain, patterned and so on. The difference is that she actually is a table designer - me, I just want my stuff to look marginally put together.
Sometimes, I can be pretty crafty. I'm no great crafter or anything, but sometimes, I'll crank out something that even amazes myself. Today was one of those days! I was humming a great song, "Wonderful Wonderful" by Johnny Mathis (included here) and texting a buddy who has a wicked sense of humor all while being quite deft with the stitch witch!
Anyway, hopefully I haven't left out any steps. It really is wicked easy to make and you can use the same steps to make a table cloth as well. My only suggestion is wash on the gentle cycle and line dry this little DIY - NSTR!
For your table runner you'll need:
2 yards of fabric
4.5 yards of ric rac or trim
3/8 in. width heat bond
1/4 in. width heat bond
fabric scissors
hot iron
Step 1: Choose your fabric and gather your materials.
Step 2: Cut your desired width. I like a pretty standard runner width. Your preference may be a bit wider or thinner depending. Be sure that you are cautious; try to cut as straight as possible.
Step 3: Make sure the iron is hot. Iron all folds and creases from your pattern before you begin; that will ensure a neater more polished look.
Step 4: Fold and iron your hems at about a 1/4 inch thick or so all the way around your runner.
Step 5: After your hems have been heat set with the iron, place your heat bond under the crease. Moisten the fabric with the sandwiched stitch witch and iron until the water has evaporated and the hem is stuck. If you aren't sure if the heat bond worked...try gently tugging at it. If it does not resist, re-iron. If it doesn't budge - success!
Follow step 5 around all four sides.
Step 6: Mitre the corners. (This is my least favorite part - mostly because I stink at it.) Make a small triangle at the corner as shown in the picture. Place a small amount of the skinnier heat bond under the corner and press it with the iron for several seconds.
Step 7: After you mitre the corners, fold the fabric into a new hem and add the heat bond under the folded new hem as shown in the photo.
Your finished mitered corner should look similar to the one below.
Step 8: After you've hemmed your corners with the heat bond, flip your nearly complete runner over. Place your trim on the runner where you think it looks even.
Make sure you have some over hang...
Step 9: Put your heat bond on the runner where you have placed the trim (move the trim out of the way first. It usually works better that way). Then replace the trim on top of the heat bond. Moisten with a spray bottle and press with hot iron. Do this on both sides.
Step 10: After you've affixed your trim with the heat bond, turn over the runner and adhere the excess trim to the underside to create a finished look.
Your finished trim should look like the photo below. And...
VOILA!
You've just completed a table runner/tablecloth in 10 easy steps and never had to fuss with a sewing machine!
Hey readers! If any of you make one of these, please email me photos! I'd love to see your stuff!
Wait! You thought you were done? Don't forget Johnny Mathis...This is the catchiest tune I have perhaps ever heard and I love it!
Dedicated to my very loving and really handsome husband. Woo hoo! I won the husband JACKPOT!