SOCIAL MEDIA

Tuesday, October 14, 2014

Welcome to the Freak Show

So I really dig making stuff. And when I came up with the idea to do a Halloween Party this year I must say I was a tiny bit influenced by last years reading of Geek Love in developing the invitation. And now this year, American Horror Story is doing "Freak Show," I felt it only appropriate to celebrate with the same.

Instead of sending flat cards I did a three dimensional invite and thought to hand them out when I saw folks! It was a blast to make and the husband really enjoyed getting in on the engineering of it. Our kitchen table was laden with tiny legs and arms to create the conjoined twins.

I wrote a special poem for the invitation itself.

Meet Arthur and Anslemo, The Siamese Twins
You'll shriek, you'll gasp, you'll wheeze and spin.
Come one, Come all for only one night.
A carnival of Freaks, my what a sight.
The Three Legged Man, The Bearded Lady
Everyone there, just a tad shady!

Please Join Gwen and Bulent
The Ringmasters, Under the Big Top
When: Saturday October 25th
What Time: 7:30 to Midnight
Where: Our House
Attire: Dress as Your favorite Freak or
 Side Show Pass Around
Other: Bring some food or drink to share.
PLEASE RESPOND by the 20th of October.

And then the entire little ditty:


Sorry about this one. I wish it was more in focus.


Monday, September 15, 2014

My Talented Peeps


My friend Joan has always been a fount of knowledge and good advice. What's great about her is that she is even keeled. Because of that even keel, sometimes she doesn't self promote and therefore you find out through various sources that she is even more awesome than you already thought she was. Not only does she give good advice, or cook a mean soup, or keep herself fit by walking a 12 minute mile, but she is as well a clutter destroyer, a frugal shopping maven and a crafty, clever woman of the Martha Stewart ilk.

I received one of these in the mail and was shocked. Embellished with a tiny surged edge and themed, they are of meticulous craftsmanship. Cloth post cards!

She has an older friend with whom she goes on little day trips and to notify her friened of the trip without giving away the goodies, she will send a spooky themed card. Then she picks up her friend and they go on a cemetery tour. So wicked! You want to be Joan's friend too, huh?


Monday, January 20, 2014

DIY Lace Resin Cuff Bracelet


Oh this is a fun one. I feel like I haven't done an in depth post about anything arty or do-it-yourself-ish for a while. As today is  free day from work (thank God), I decided to go for it. Not without some trial and error, such is experimentation.

A cuff is my favorite kind of body embellishment. It is a statement without being IN YOUR FACE. I like a statement necklace as well, but since I am petite I often feel like the necklace swallows me. A cuff bracelet is more subtle but just as statement making.

This one happens to be made of Shrinky-Dink resin paper. You can get it at Michaels or any comparable craft store.

Your materials:

1 sheet shrinky dink matte sided 'paper.'
1 pair scissors
1 design you like (I used an image of lace)
1 oven

Directions:

  1. Print the design you've chosen onto the sheet of Shrinky-Dink paper (make sure your printer can handle it and that the color will not rub off on your skin - if you're so inclined, you can buy special printable Shrinky-Dink paper but it's a bit dear for the wallet).
  2. Pre-heat the oven to 325,
  3. You'll use the entire length of the paper but the width is up to you. If your paper is 8x10, use all 10 inches, but you may want to trim the 8 inch width down to 6 or 7 inches - I trimmed it to 6 inches.
  4. Punch holes on either end of your shrink paper. These are where you'll add the leather or wire or whatever element you'll use to close the cuff (that which will keep it on your arm).
  5. Lay the prepared piece on a parchment lined cookie sheet printed side up.
  6. Put the cookie sheet in the oven and check your design after about a minute. *when you check the piece it will look curled in the oven - don't fret - remove it, wrap it around a glass or anything of similar size to your wrist - and put it back in the oven to remove bumps and blemishes.
  7. After you've removed your piece, move quickly and re-shape it if you've put it in the oven for a second go 'round.
  8. Let it cool and add your leather. The closure type is up to you. I originally did a double slide knot but the leather kept breaking so I didn't use that type of thing, instead I wove the leather.
  9. Voila! You have an enviable cuff. If you can find Shrinky paper that is longer than 10 inches you could forgo the leather part altogether.
  10. NOTE: Using this medium is trial an error. It can be a frustrating material to work with but hang in there. The end product is worth the trouble.


This was my first attempt. You can see the break in the plastic on the upper right part of the bracelet.


I should've re-though the wearer; my arm renders as if I am an 80 year old. But you get the idea.


Saturday, October 12, 2013

DIY Matchbook Cover

I haven't done a DIY in a while and this morning I was feeling crafty!

I have always thought that the best bathroom deodorant is a freshly lit match. They're inexpensive and effective at covering up even the most offensive odors in the loo.

The unfortunate thing, however, is that the average matchbook is not terribly attractive to set out in a well appointed bathroom.

This little matchbook cover is easy, quick and takes only a few little things you likely have lying around the house.

Materials List:

Matchbooks (you can get them at the grocery store)
wrapping paper
scissors
glue stick
writing utensil

Directions:

  1. Set the matchbook on the straight edge of the wrapping paper.
  2. Pencil mark on the other side of the matchbook.
  3. Trim along the pencil mark you created.
  4. Apply glue to the paper generously, paying special attention to the corners and edges.
  5. Stick paper, pretty side out, around the matchbook.
*Note: if the edge f the paper is in excess, simply trim it to fit.


Try it!


Tuesday, September 24, 2013

He's Crafty, Too! And All Mine! Caution: Bad Language.

My husband is one of these fellas that works very hard but somehow he makes everything look effortless. This quality is something I both admire and envy. I always feel very lucky that he picked me to walk with him through this crazy human adventure.

He recently built a new fence outside the house. It's gorgeous. Redwood paneling, dog ear fence slats, steel pipes for sturdiness and excellent craftsmanship (he never half asses an engineering project)!

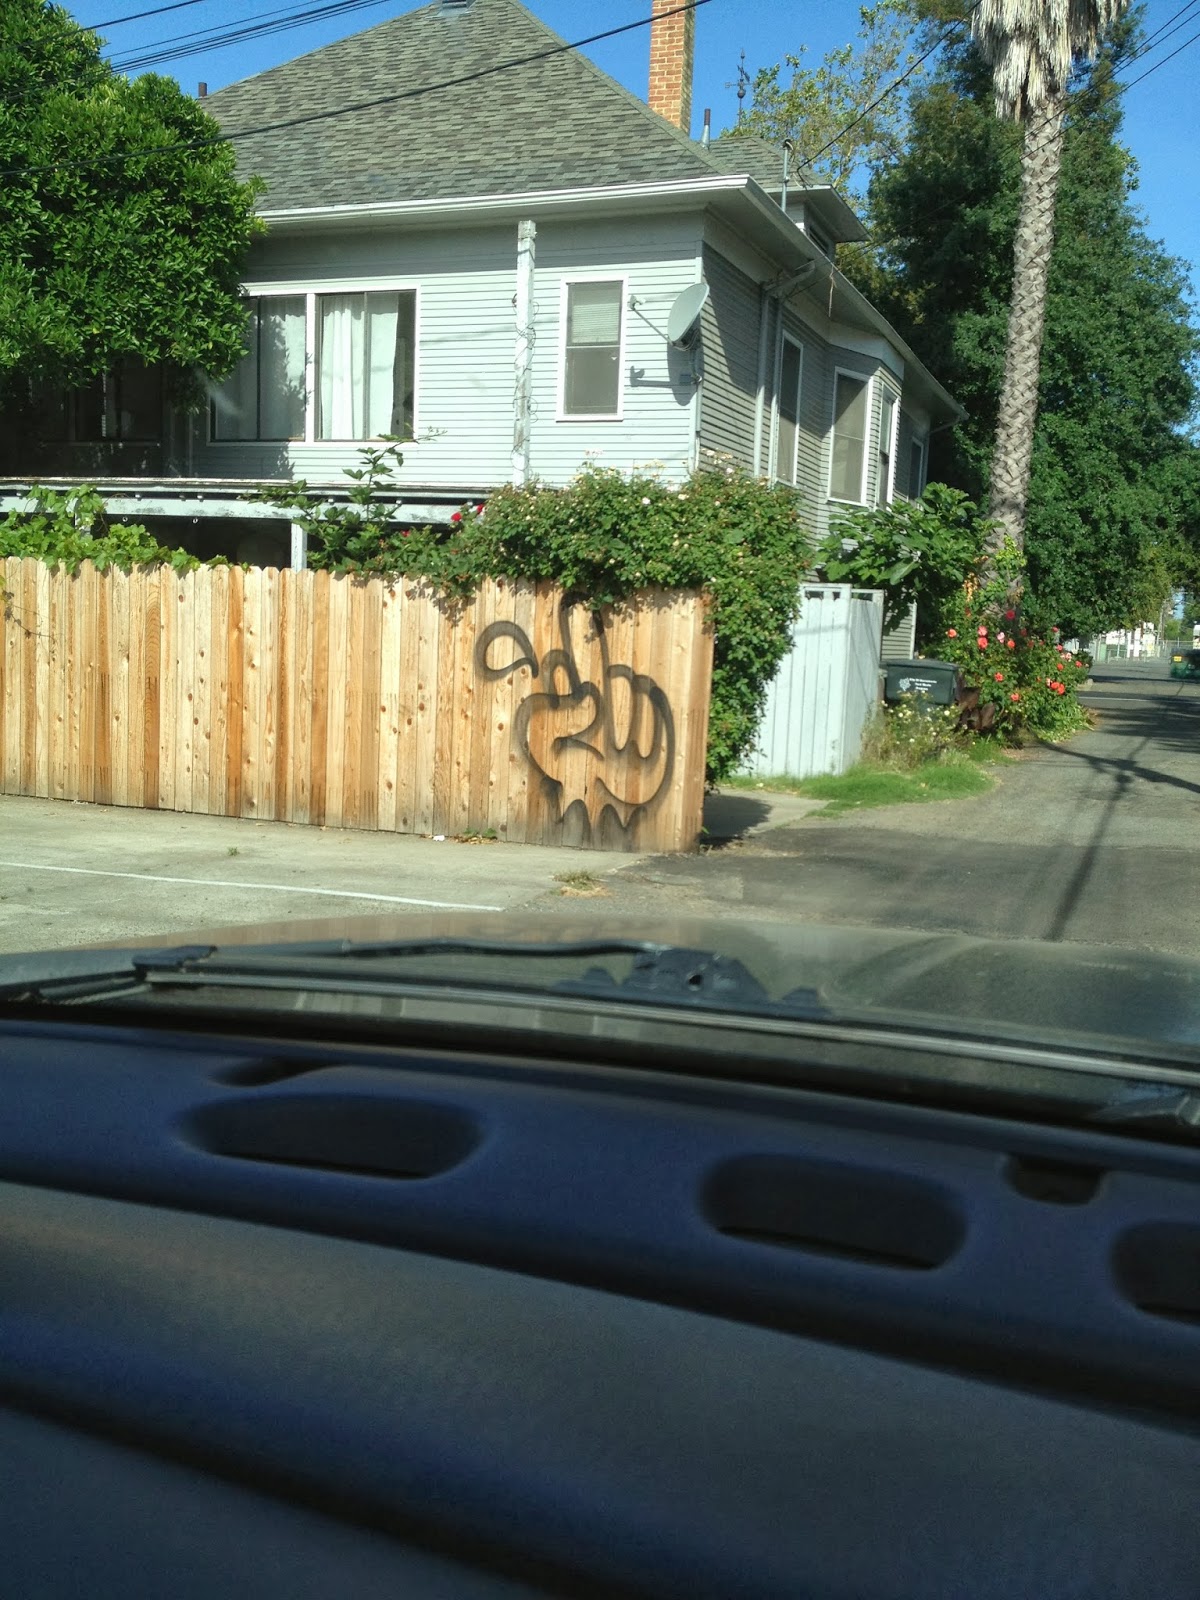
The fence was up for about two day when some little shit came in the wee hours of the night and made some 'art' on his beautiful fence.

When we returned from the Pancake Circus after a delightful greasy spoon breakfast, we were met with a cartoon hand "flipping the bird" at us; spray painted right on the fence. I FREAKED!

My husband in a way that only he can, calmed me down and said it would be easily removed. I relaxed and went on my day while my husband set on his course to fixing the fence.

He would not stop at fixing the fence. He knew instinctively that the same thing would happen again unless measures were taken. So, he (from scratch) made a street light all our own. He is truly a craftsman. And no punk will brave the 100 watt metal halide lamp we have out there as a new security system!

Before: Our super surprise! I was livid. But my sweet husband calm as a cucumber and ready to take this project on.

After:   Bulent went to work with first with pain remover. It did not work as the wood was too porous and absorbed the rattle can artwork like a sponge. So he got out the drill and used a wire brush attachment. That's the final result. As close to pre paint perfection as possible. 


Friday, June 21, 2013

A New Bathroom

I know its summer and all; birds are tweeting, flowers are blooming, wee bugs are out flying. But today I thought we should take a look inside as well as out.

My friend Tara lives in Portland, Oregon. I love it there and given the chance I'd go in a New York minute.

Tara is a talent in so many ways. She is an expert felter. She can do amazing things with a sewing machine and her gift giving talents are absolutely unmatched!


But she is also a great inspiration to me and the people around her. She has a magical heart and it shows in her little cottage. I am blessed to call her friend.

When she and her husband bought this house in the South West burrough of Portland, they knew they'd be doing some work.  Add to the list of her talents above, she is also an accomplished gardener and her interior eye is enviable!

The pictures below are first of her cottage. It's my dream home. You'll love it too. Next I'll do the "after" pics of the bathroom and finally, I'll end with before shots. They are all original photos taken by Tara.


Building more vegetable beds.

Look at this sumptuous little rain garden!


Look at that beautiful arch and the subway tile.


Medicine above, laundry below. And a deeper blue within.
Tangerine objet and a sweet little whale.
Before shots here: The difference is palpable.


Lots of storage but everything got lost in the back.

This storage spot was sacrificed to move the door.
See below.